Video Player is loading.
10 seconds
Playback speed

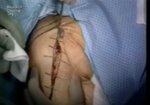
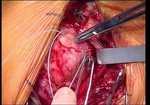
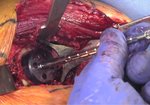
Reverse Total Shoulder Arthroplasty Using Navigation
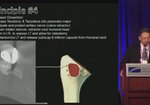
Navigation Introduction
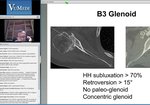
• Video begins with a demonstration and explanation of preoperative planning software. This ...
read more ↘
• Video begins with a demonstration and explanation of preoperative planning software. This ...
read more ↘
Comments 0
Login to view comments.
Click here to Login